For personal knowledge management, I am very keen on creating my own local-first and open source self-hosted services. This way, I can avoid relying on any platform, have complete autonomy over my data, and be able to migrate services at any time. Options like Obsidian, Hexo blog, and the memos introduced in this article all meet these criteria.
The protagonist of this article, memos, is an open-source lightweight note-taking service that allows you to take notes in a way similar to posting on Weibo, supporting TAG marking and citations. It features an account system and permission management, allowing web access at any time, and notes can be public or private, offering great flexibility. I chose it because it complements Obsidian; Obsidian is still too heavy for my needs—it works well on PC but has a poor mobile experience. Thus, I need a lightweight, always-available note-taking service.
This article will introduce how to deploy a Memos service on a VPS using Docker, along with Nginx to bind the domain name, Certbot to issue and automatically update SSL certificates, and regular backups of the memos database, as well as some optimization configurations I made for the service.
Prerequisites
Before proceeding with this article, you need to meet the following conditions:
- You must have a VPS (preferably overseas, without needing to file the domain).
- A domain name (the article uses
memos.example.comas an example). - Familiarity with the Linux system and common commands.
Deployment
Docker
First, you need to install Docker on the VPS:
1 | apt-get install docker |
Common Docker commands:
1 | # List all images |
Memos
Then, use Docker to install and run the memos image. The latest version is 0.21.0:
1 | docker run -d --name memos -p 5230:5230 -v ~/.memos/:/var/opt/memos neosmemo/memos:stable |
-p specifies the port, and ~/.memos/:/var/opt/memos specifies the data storage path for memos. By default, it is placed in the ~/.memos/ directory, but it can be changed as needed.
After executing, the following files will be generated:
The memo_prod.db file is the Sqlite database for memos and can be opened with tools like DB Browser for Sqlite to access the data.
Once the above Docker command has been executed, the memos service is already running, and you can access it via localhost:5230.
Container Auto-Start
First, check the Docker ID:
1 | root@vultr:~# docker ps -a |
Then set it to restart automatically:
1 | docker update --restart=always 3f25b36e833e |
To turn off auto-start:
1 | docker update --restart=no |
Custom Domain Name
After executing the above Docker command, a web service has been started locally. However, it can only be accessed via IP. We can use Nginx to map it to a domain name.
First, install Nginx:
1 | apt-get install nginx |
Check the default Nginx configuration file:
1 | nginx -t |
Modify /etc/nginx/nginx.conf:
1 | user www-data; |
Then, you can create the Nginx configuration for memos in the /etc/nginx/conf.d/ directory:
1 | # memos.example.com.conf |
This only adds the http mapping, and HTTPS cannot be opened yet. You still need to apply for an SSL certificate and then configure an Nginx configuration for 443, which will be introduced next.
SSL Certificate
Certbot
Before applying for the certificate, please ensure that the DNS is already resolved to the machine’s IP.
Install certbot:
1 | apt-get install certbot |
Then issue the certificate:
1 | certbot certonly --standalone -d example.com |
Note: When executing the command, make sure that Nginx and memos services are not running to ensure they are shut down. You can stop the Nginx service with
service nginx stopand start it withservice nginx start.
Once the certificate is issued, it will be stored in the /etc/letsencrypt/live/ directory:
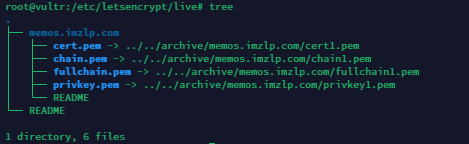
At this point, the certificate has been successfully applied.
Then you need to edit the previously created Nginx configuration file (in the /etc/nginx/conf.d/ directory) and create a 443 ssl configuration to enable HTTPS:
1 | # memos.example.com.conf |
Now, our domain supports HTTPS access.
Automate Certificate Renewal
The certificates issued by Certbot are valid for only three months and need to be reapplied. To automate this process, you can set a crontab task:
1 | crontab -e |
Add the following command:
1 | 0 3 1 * * certbot renew --quiet --pre-hook "service nginx stop" --post-hook "service nginx start" |
This means that on the first day of every month at 3 AM, the renewal task will be executed, shutting down the Nginx service before execution and restarting it afterward.
Troubleshooting
If the certbot certificate application fails, be sure to check the local port occupancy to ensure that the Nginx service has exited and that no other program is using ports 80 and 443. If you’re unsure whether a port is occupied, you can use lsof to check:
1 | root@vultr:~# lsof -i :80 |
If you encounter the following error while using certbot renew:
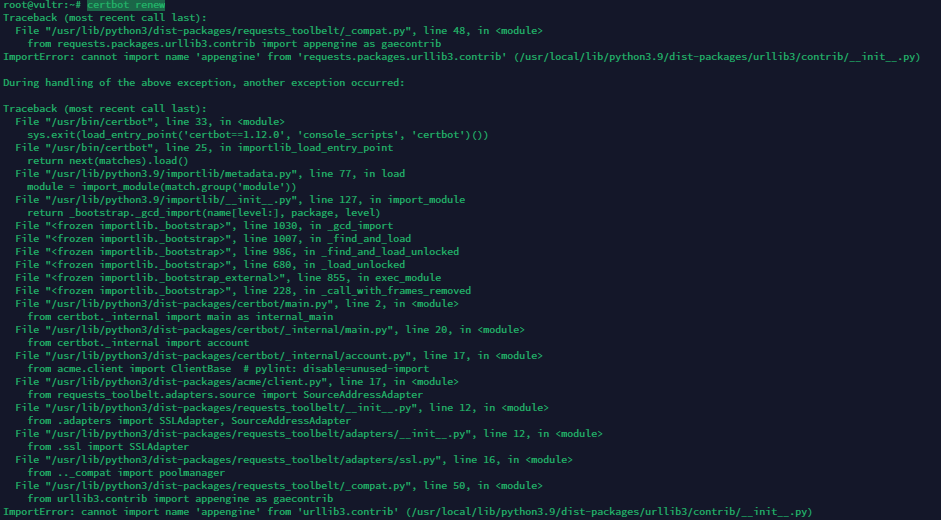
You can try the following commands:
1 | sudo apt-get update |
Database
Automated Backups
Similarly, we can set up regular backups for our MEMOS database. Data security should always be a priority.
You can still use crontab for automated backups, submitting them in a GIT repository format.
- First, create a private repository on GitHub.
- On the VPS, navigate to the memos data directory.
- Create a git repository and make an initial commit.
- Create a crontab scheduled task.
Regarding backup frequency, I currently set it to run once every 5 minutes, but you can adjust the frequency as needed.
Additionally, it is important to note that you should not directly use git to manage a database that is currently running, as this may cause database corruption. You should back it up first and then manage that backup with git.
I configured the following .gitignore to ignore all files under ./memos, only tracking files starting with backup*:
1 | .memos/* |
The command for backing up the database is:
1 | sqlite3 memos_prod.db ".backup backup_memos_prod.db" |
The complete crontab command is as follows:
1 | */5 * * * * cd /root/.memos/ && /usr/bin/sqlite3 memos_prod.db ".backup backup_memos_prod.db" && /usr/bin/git add . && /usr/bin/git commit -m 'update' && /usr/bin/git push origin master |
Note: The commands in crontab should use absolute paths; relative paths like
~may not work correctly.
Database Repair
If you receive the following error when accessing memos:
1 | database disk image is malformed |
This indicates that the database is corrupted, and we need to migrate the data out and create a new database.
1 | # install sqlite3 |
Then move or delete the old db, rename the new one to memos_prod.db, and restart Docker.
Data Migration
Some of my earlier notes were stored in a separate md file alongside the blog, in formats like the following:
1 | ## 2024-04-08 17:18 |
After writing for years, I now have hundreds of entries. If I needed to manually transfer them to Memos, it would be quite cumbersome, and I wouldn’t want to do that.
Using GPT-4 combined with manually optimized code, I generated a Python script to convert md files into a CSV file that conforms to Memos database table standards. This way, I just need to manually import the CSV once to complete the data migration.
Script: md2memos.py.
The execution command will generate two CSV files in the md directory for import into the db:
1 | python md2memos.py --md MARKDOWN_FILE.md |
Note: When generating CSV files for the Memos database, be sure to import them separately into the
memoandresourcetables. Then perform the following operations on the resource table to ensure these two items are empty.
1 | UPDATE resource SET blob = NULL; |
Configuration Optimization
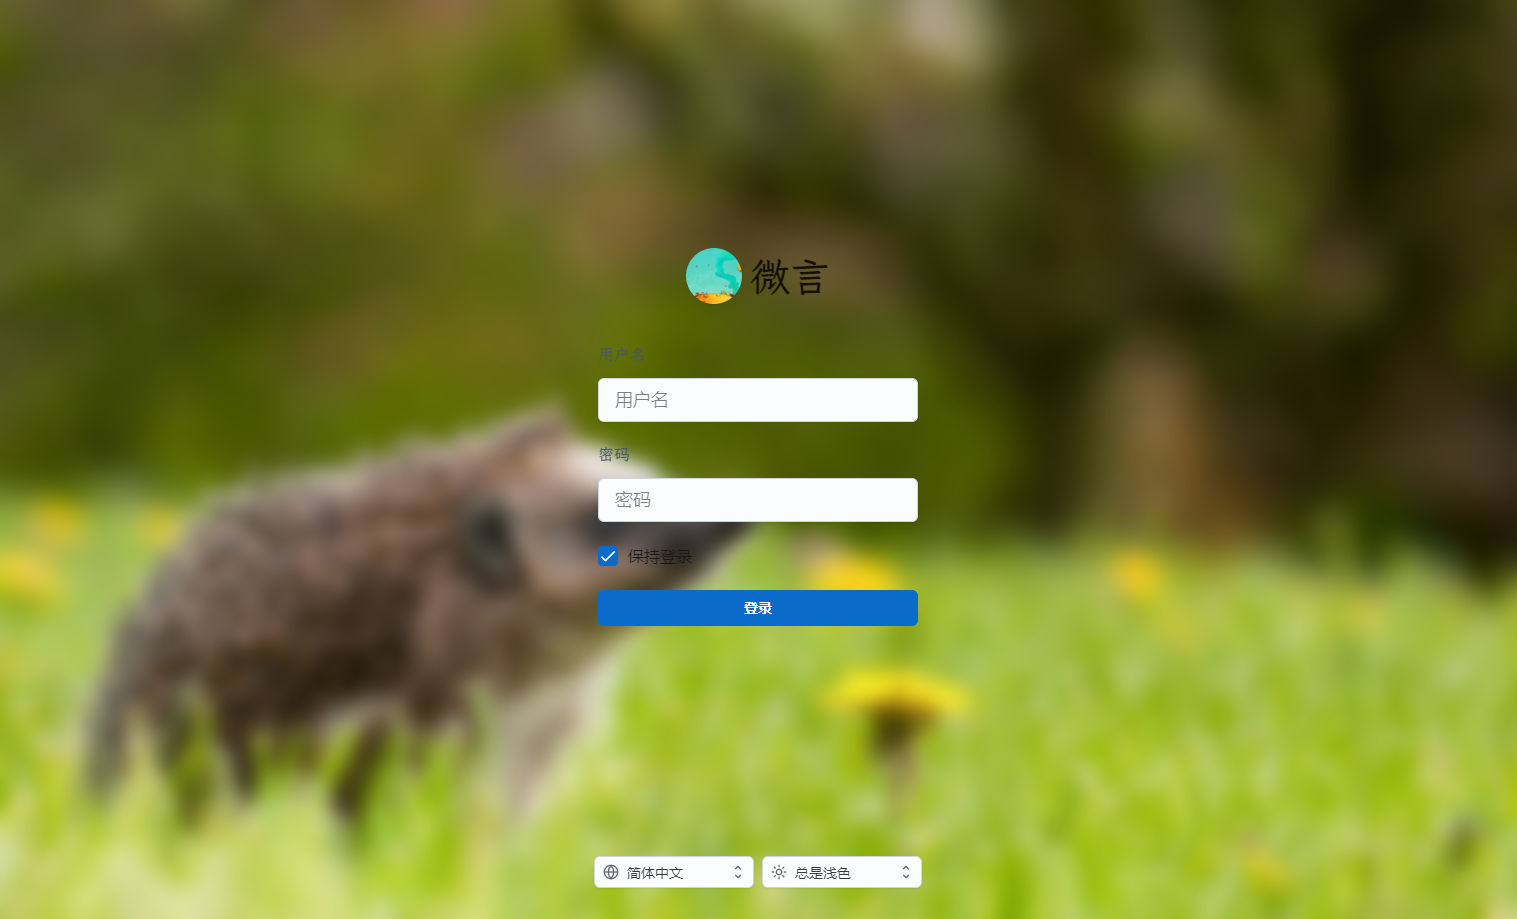
Interface Beautification
- Change the font to LXGW WenKai.
- Integrate Bing’s daily wallpaper so that the background changes daily.
- Apply a semi-transparent effect.
- Hide some unnecessary options.
The CSS code is as follows:
1 | /* Change font */ |
JavaScript code:
1 | function changeFont() { |
S3 Service
The configuration and published text of Memos are stored in an SQLite database, but SQLite is not friendly towards binary files. Moreover, managing these binary files within the database is not ideal. Therefore, you can configure an S3 service (such as Tencent Cloud COS) to handle uploaded files and images.
| Item | Configuration |
|---|---|
| Name | TencentCOS |
| Endpoint | https://cos.ap-guangzhou.myqcloud.com |
| Region | ap-guangzhou |
| Access Key | AKIXXXXXXXXXXXXXXXXXXXXXXXXXXXXXXXf7g |
| Secret Key | gZZZZZZZZZZZZZZZZZZZZZZZZZZZZZZZZZr |
| Bucket | memos-1888888893 |
| Storage Path | memos/{year}/{month}/{day}/{filename} |
This way, Memos text will be separated from the files.
Webhook
While I have deployed Memos, I still want the previous md data to sync with Memos changes.
Memos also provides webhook configuration, and I wrote a simple webhook server using Flask. When content in Memos is published or modified, it triggers this server, allowing me to operate on the data and append it to the md file:
1 | from flask import Flask, request, jsonify |
Conclusion
Web-based services are quite enjoyable, as they require no client and can be accessed directly through a browser, allowing for capturing thoughts anytime and anywhere. Additionally, on iOS, Safari can directly send the page to the desktop, making it as easy to open and access as a standard app, providing a great experience.
Moreover, memos also has a very useful RESTful API, allowing it to be extended to other services, such as embedding it into iOS Shortcuts (for scheduling, accounting, journaling, etc.) or integrating it into a blog for more convenience.