PixelStreaming is a technology supported by UE_4.21 that enables games to run on a server, allowing players to play via a browser. The player side requires no additional operation, only needing a browser, while all logic processing and rendering occurs in the “cloud.” It is not merely a plugin (although there is the PixelStreamingPlugin, which is just one part of the PixelStreaming implementation). Its implementation has a distinct design and organizational approach independent of UE games.
This article mainly introduces the basic concepts of PixelStreaming and shares practical experiences with the Demo using PixelStreaming.
Let’s take a look at UE’s own introduction:
Run your Unreal Engine application on a server in the cloud, and stream its rendered frames and audio to browsers and mobile devices over WebRTC.
The data transmission of PixelStreaming uses WebRTC, which results in lower latency for P2P connections.
Note: The testing engine described in this article is UE_4.22.3, and currently, PixelStreaming can only run on the Windows platform (dependent on the
D3DX11andNvVideoEncoderlibraries).
The code provided by UE for the PixelStreaming demo is divided into several parts:
- PixelStreamingPlugin: Provides capturing and encoding of rendered frames and audio data, creating a link to pass audio and rendered frame data to the WebRTC server, written and used in UE’s plugin style.
- WebRTCProxy: The middleware for communication between the application/game and the WebServer, serving to pass the game-encoded rendered frame data (.h264) and audio data to the WebServer, and also passing user inputs received from the WebServer back to the application/game, allowing control of the game from the browser. This is written using UE’s Program style.
- WebServer: In the organizational design of PixelStreaming, the WebServer consists of two modules: SignalingWebServer and Matchmaker, both written in nodejs.
- SignallingWebServer: Starts an HTTP service, receives rendered frames and audio data from WebRTC to pass to the browser client, and receives remote user inputs (keyboard, mouse, etc.) to pass back to WebRTC.
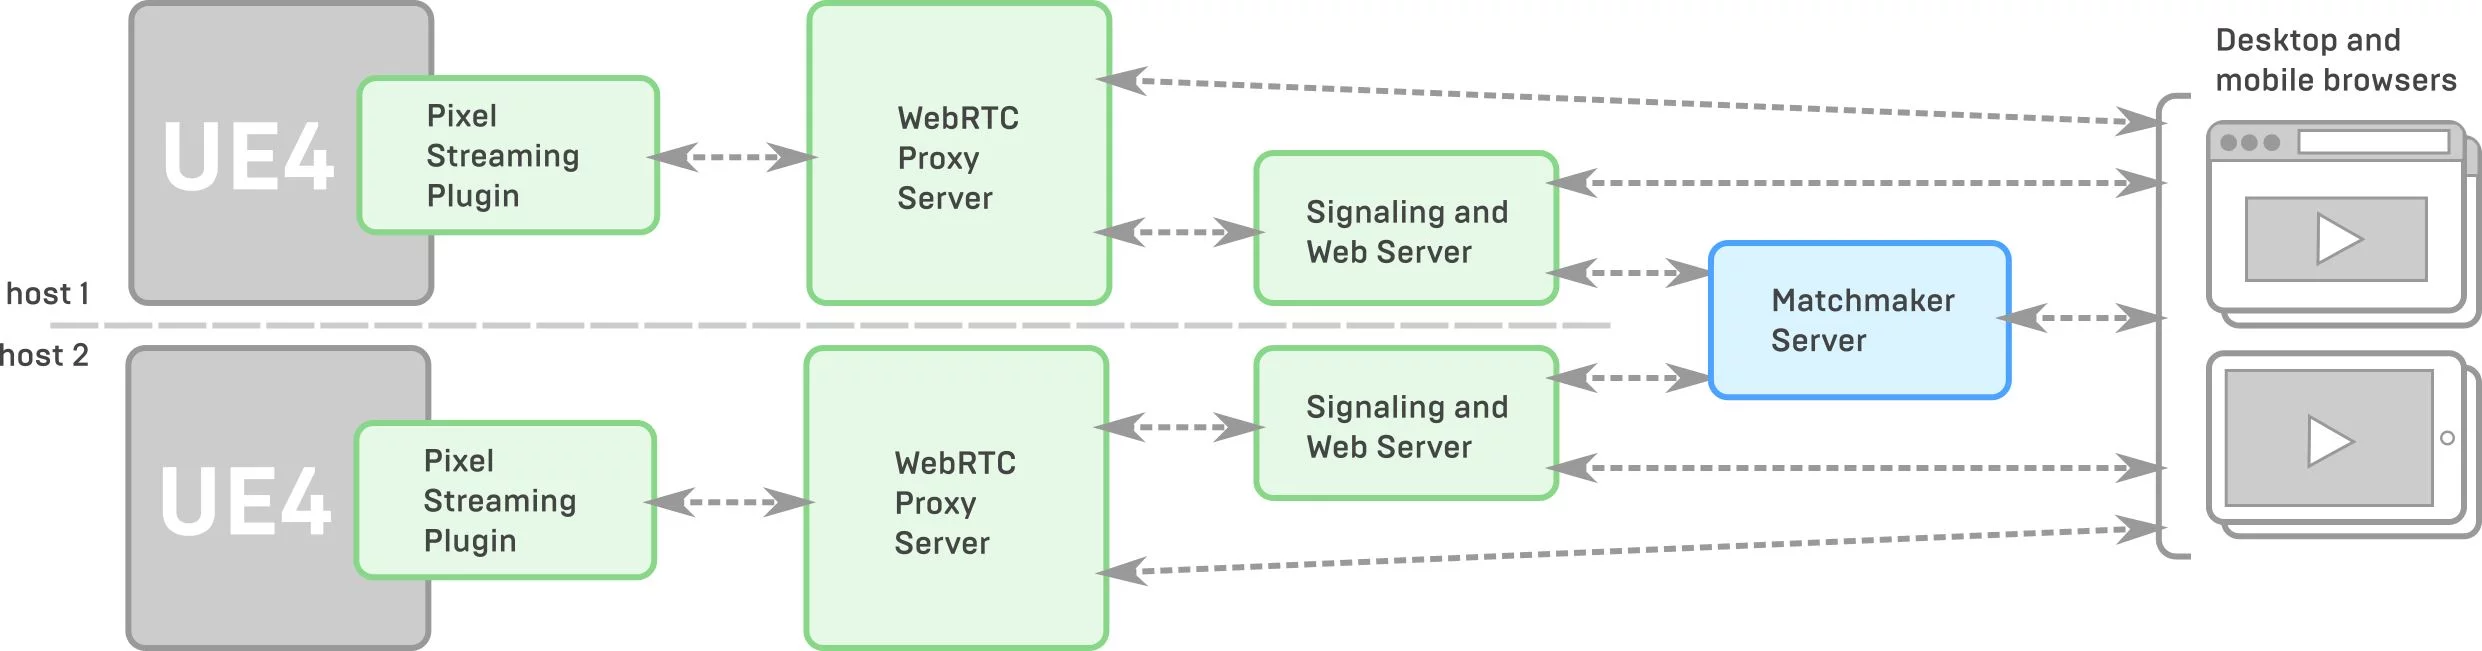
- MatchMakerServer: If only a single game instance and a single SignallingWebServer are started, players accessing via the browser will be interacting with the same game instance, and their keyboard and mouse inputs will interfere with each other. The solution to this problem is to use the MatchMakerServer, which requires launching multiple sets of game instances/WebRTCProxy and SignallingWebServer to provide different game instances for each external user, ensuring that each browser accesses a unique client connection.
The process for a user accessing a single instance is shown in the diagram below:![]()
In the future, I will analyze the code implementations of each component (I did a simple analysis last weekend on the implementation of PixelStreamingPlugin). The purpose of this article is to introduce the basic concepts and get started with a simple PixelStreaming demo.
The references for this article mainly include the introduction to PixelStreaming from the UE documentation library, as well as my understanding of the implementation from code reading. Currently, the official documentation page is not particularly detailed, omitting some details and usable parameter commands, so it’s still best to look at the code.
PixelStreamingDemo
With the basic concepts introduced, let’s move on to the practical hands-on section.
Launch Game
First, create a C++ project; I chose a Third-Person template:
![]()
Once created, open Edit - Plugins and search to enable PixelStreaming:
![]()
Then restart the editor.
Unlike the packaging required as described on UE’s official website (Getting Started with Pixel Streaming), simply launching the project in Standalone mode allows loading the PixelStreamingPlugin, which saves you the trouble of packaging each time.
To conveniently add launch parameters, you can use a tool I previously wrote: UE4 Launcher and add the startup parameters -game/-log/-AudioMixer (the PixelStreamingPlugin requires this parameter):![]()
Note: The PixelStreamingPlugin supports specifying the address and port of the WebRTCProxy to connect to at startup; you can add the following parameters to the startup parameter list.
-PixelStreamingIP=<value>: Specify the address of the WebRTCProxy server, defaults to0.0.0.0.-PixelStreamingPort=<value>: Specify the port of the WebRTCProxy server, defaults to8124.
Click Launch Configuration to start the project in Standalone mode.
After launching, you can see the PixelStreaming log output in the Log window:
![]()
WebRTCProxy
After the above operations, once the game has started, you can launch WebRTC by opening the engine directory:
1 | Engine\Source\Programs\PixelStreaming\WebRTCProxy\bin |
You will see five files in this directory:
1 | 2019/07/29 01:21 110 Start_AWS_WebRTCProxy.bat |
All you need to do is double-click Start_WebRTCProxy.bat to start (which only starts WebRTCProxy.exe).
After launching, you can see the connection information:
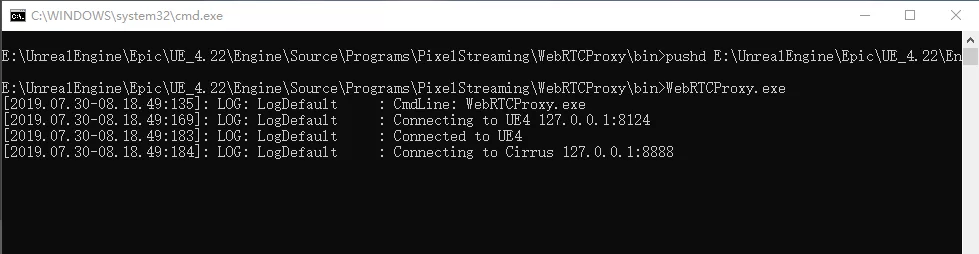
At this point, you can see the following content in the Log window of the game project:
1 | [2019.07.30-08.18.49:324][758]PixelStreamingNet: Accepted connection from WebRTC Proxy: 127.0.0.1:2703 |
This indicates that the PixelStreamingPlugin has successfully connected to the WebRTCProxy.
WebRTCProxy can also specify the port set by the PixelStreamingPlugin within the game, as well as the address/port of the SignallingWebServer, which can be viewed by using the -help parameter to see the parameters supported by WebRTCProxy (the implementation code for this part is located at Engine/Source/Programs/PixelStreaming/WebRTCProxy/src/WebRTCProxy.cpp):
1 | E:\UnrealEngine\Epic\UE_4.22\Engine\Source\Programs\PixelStreaming\WebRTCProxy\bin>WebRTCProxy.exe -help |
Among them:
-Cirrus=<IP:Port>is used to specify the port for communication with the SignallingWebServer (default is127.0.0.1:8888).-UEPort=<Port>: Used to specify the port associated with the UE application for this WebRTCProxy (the connection port in the PixelStreamingPlugin, default is127.0.0.1:8124).
SignallingWebServer
Once both the game and WebRTCProxy are up and running, you need to start the actual HTTP server that is accessible from the browser.
First, you need to install node. After installation, add it to the system PATH and verify if it is installed successfully with the commands node -v and npm -v:
1 | C:\Users\imzlp\Desktop>node -v |
If it appears as shown, you can start the SignallingWebServer. Open the engine directory:
1 | Engine\Source\Programs\PixelStreaming\WebServers\SignallingWebServer |
There will be many files, and you need to run run.bat or runNoSetup.bat (the only difference is whether to execute npm install). If you are opening it for the first time, run run.bat as administrator, and afterwards, you can directly use runNoSetup.bat.
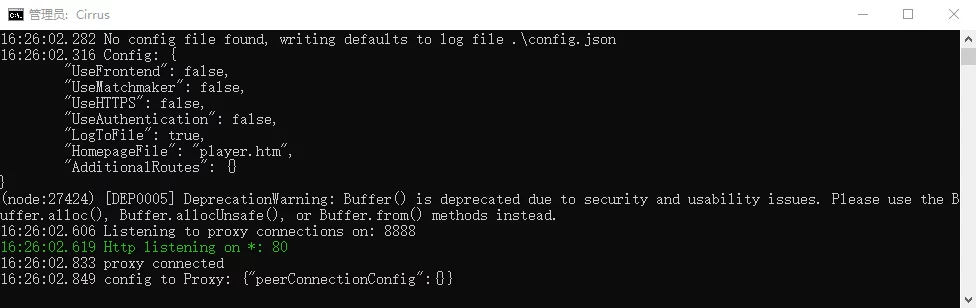
After downloading and installing a variety of npm packages, it will start successfully:
Now if you open the WebRTCProxy window, you can see the following content:
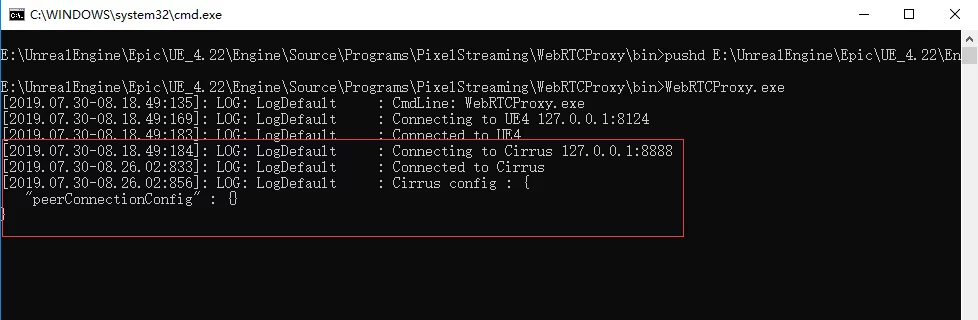
At this point, all necessary services have been successfully started.
Note: The SignallingWebServer connects to the WebRTCProxy at
127.0.0.1:8888by default and starts an HTTP service on port 80.
- Use
--proxyPort <Port>to modify the listening WebRTCProxy port, or specify it in theSignallingWebSerber/config.jsonconfiguration.- Use
--httpPort <Port>to modify the port of the HTTP server started.
Open your browser and access http://127.0.0.1 (using the default port 80; otherwise, you need to specify the port number https://127.0.0.1:xxxx), and you can see the following interface:
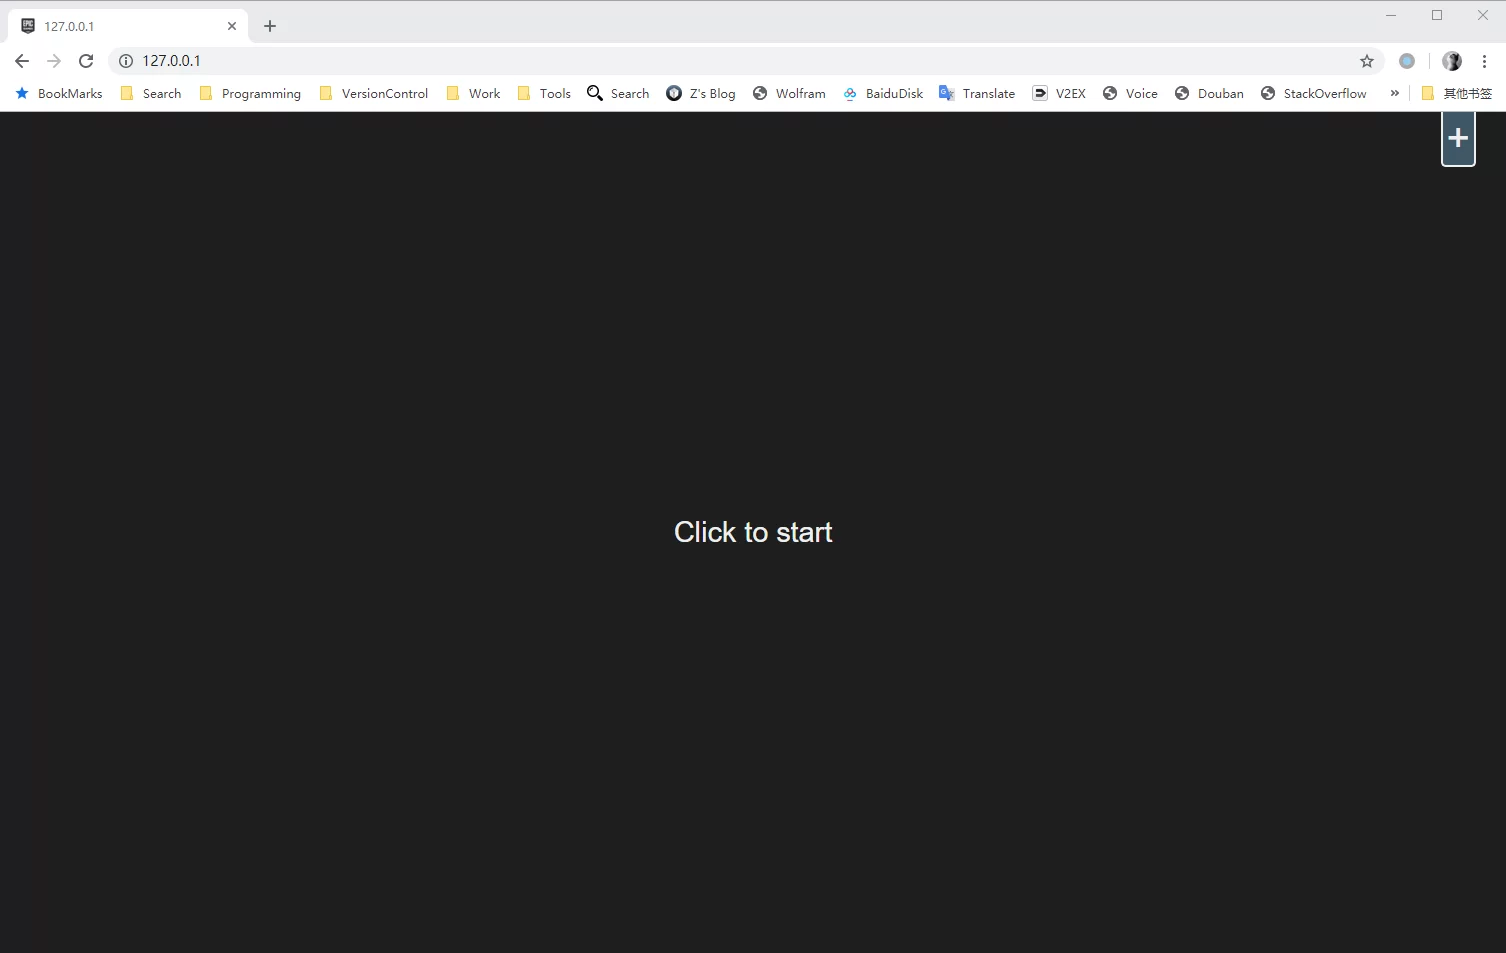
Clicking with the mouse will bring you into the game screen:
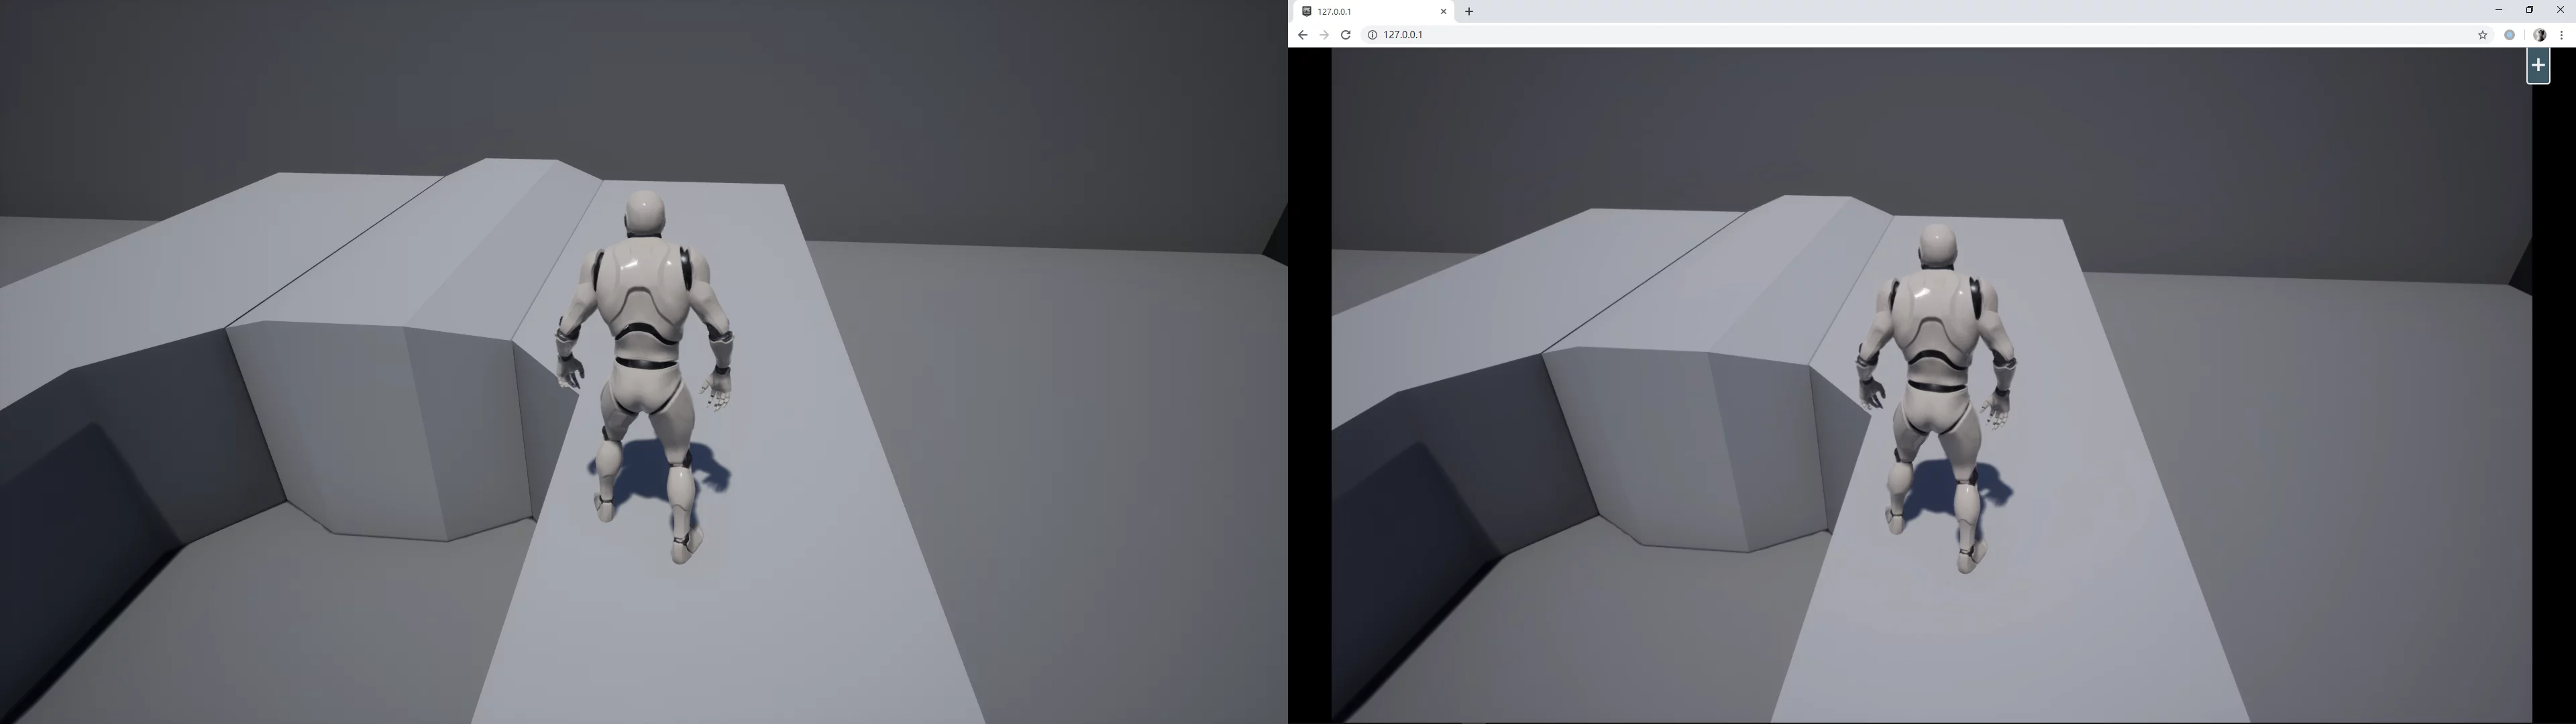
Other mobile devices on the same network segment can also connect directly:
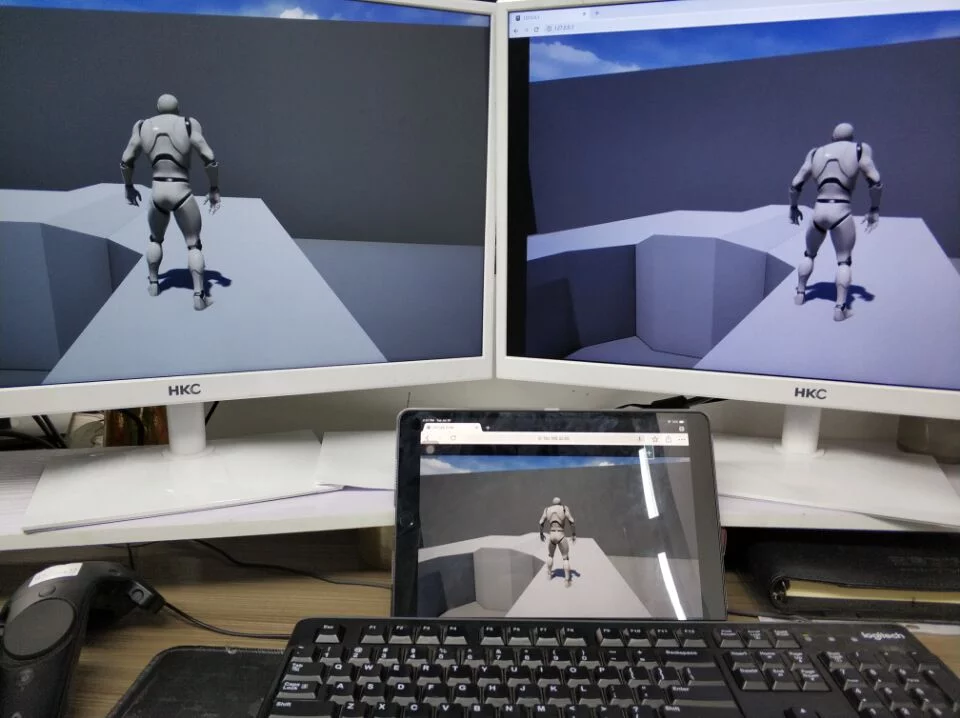
I also recorded a simple video (operating on an iPad):
MatchMakerServer
At the beginning of the article, I briefly explained the purpose of the MatchMakerServer, and below is a simple explanation of how to implement it.
First, let’s look at UE’s responsibility diagram for the MatchMakerServer:
The usage is: when starting a single SignallingWebServer, specify the parameter to enable Matchmaker:
1 | runNoSetup.bat --UseMatchmaker --matchmakeAddress 127.0.0.1 --matchmakerPort 9999 |
Then start the MatchmakerServer, located at:
1 | Engine\Source\Programs\PixelStreaming\WebServers\Matchmaker |
Directly start run.bat with the default httpPort set to 90 and matchmakerPort set to 9999, which corresponds to the --matchmakerPort 9999 specified when running the SignallingWebServer. You can also replace these parameters as needed.
1 | run.bat --httpPort 88 --matchmakerPort 9988 |
The following usage is with the default httpPort/matchmakePort ports.
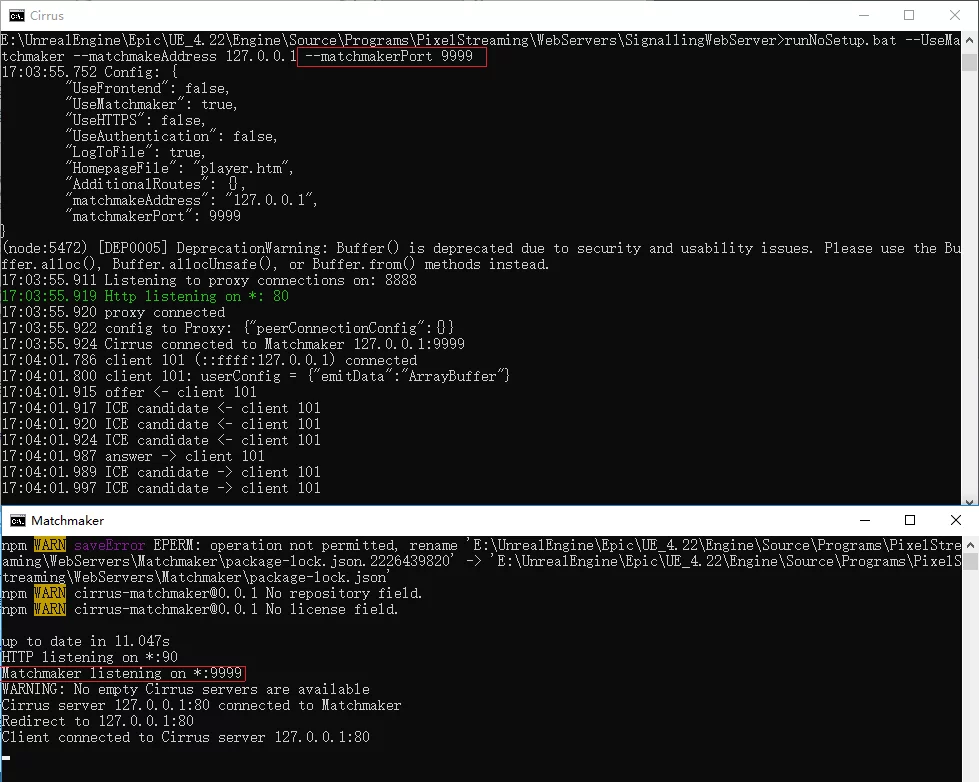
Then access http:127.0.0.1:90 to see the same interface as the separately started SignallingWebServer, but no other clients are allowed to join the current session, displaying the warning WARNING: No empty Cirrus servers are available.
![]()
Unless multiple games/WebRTCProxy/SignallingWebServer instances are being run simultaneously, allowing each player to occupy a set without interference, which is also the purpose of the MatchmakerServer.
Conclusion
The Pixel Streaming concept of cloud gaming is promising, but current hardware environments and bandwidth limitations remain significant issues. During my testing experience, connections in a local network were relatively smooth, reaching full frames at a set maximum of 60fps, though occasional frame drops did occur.
Google has also launched the cloud gaming platform Stadia, but it is still far from being fully realized. However, it can be applied in certain industry applications (such as Chevrolet’s car showcase 2020 CORVETTE STINGRAY).